Skateboarding is a unique blend of athleticism, artistry, and self-expression. As an integral part of this culture, skateboard shoes are designed to withstand the rigors of the sport while also making a statement. However, tying your skateboard shoes correctly goes beyond just aesthetics; it ensures proper fit, and support, and ultimately enhances your performance on the board.
In this comprehensive guide, we will delve into the art of tying skateboard shoes, covering various techniques, tips, and tricks to achieve the perfect balance between style and functionality.
1. For Tying Skateboard Shoes Understanding Skateboard Shoes
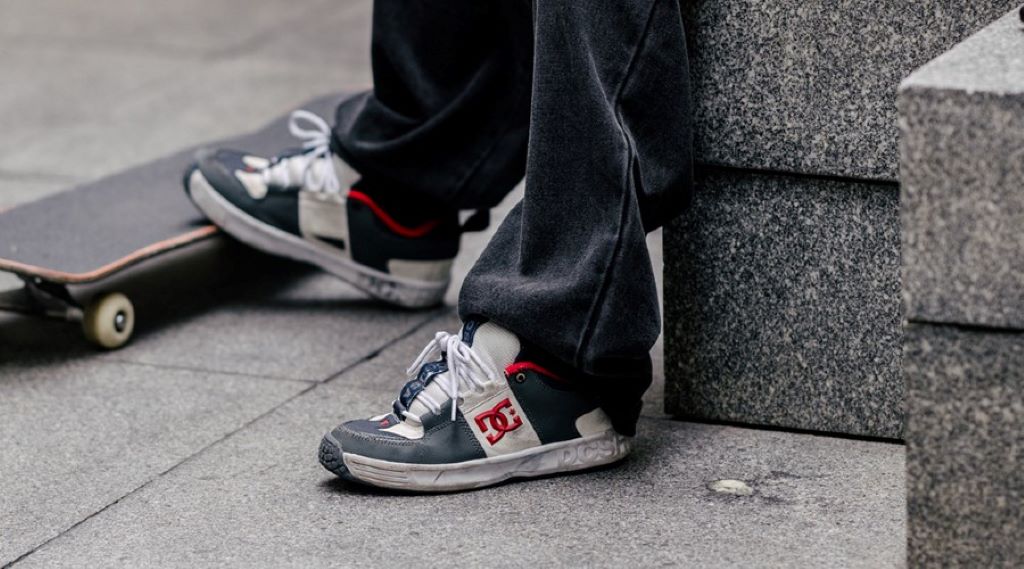
Skateboard shoes are built differently from regular sneakers. They feature reinforced stitching, and durable materials, and often have a vulcanized sole for a better board feel. Before we jump into tying techniques, let’s explore some key features of skateboard shoes:
- Ollie Area: This is the area where the shoe makes contact with the grip tape during an ollie. A well-tied shoe protects this area from excessive wear and tear.
- Laces: Skateboard shoe laces are typically thicker and more durable than regular laces to withstand the stress of skateboarding.
- Eyelets: The number and placement of eyelets can vary depending on the shoe model. They play a crucial role in achieving different lacing styles.
2. Tying Skateboard Shoes: Essential Tying Techniques
There are several ways to tie your skateboard shoes, each offering unique benefits and style options. Let’s explore some of the most popular techniques:
2.1. The Standard Cross-Lace
This is the most common and versatile lacing technique. It provides a balanced fit and is suitable for most foot shapes and skateboarding styles.
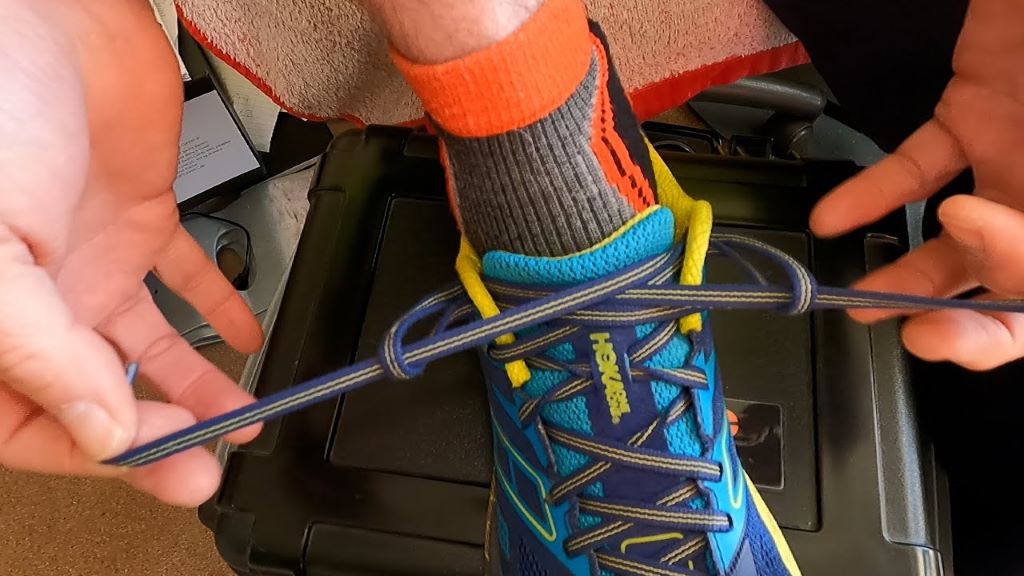
- Step 1: Start by threading the laces through the bottom eyelets, ensuring both ends are even in length.
- Step 2: Cross the left lace over the right lace and thread them through the next set of eyelets.
- Step 3: Repeat this process until you reach the top eyelets. Tie a secure knot to complete the lacing.
2.2. Tying Skateboard Shoes: The Heel Lock

This technique is designed to prevent heel slippage, a common issue during skateboarding. It creates a snug fit around the ankle, enhancing stability and control.
- Step 1: Follow the standard cross-lace technique until you reach the second-to-last set of eyelets.
- Step 2: Instead of crossing the laces, thread them through the top eyelets on the same side, creating a loop on each side.
- Step 3: Cross the laces through the opposite loops and pull them tight to lock the heel in place. Tie a knot to secure the laces.
2.3. The Gap Lacing
This technique offers a looser fit around the ankle while maintaining a secure feel in the forefoot. It’s a good option for skaters who prefer more flexibility and freedom of movement.
- Step 1: Follow the standard cross-lace technique until you reach the middle of the shoe.
- Step 2: Skip one set of eyelets on each side and continue the cross-lace pattern.
- Step 3: Complete the lacing and tie a knot to secure the laces.
2.4. The Bar Lacing
This technique creates a clean and stylish look with horizontal bars across the shoe. It provides a snug fit and minimizes lace pressure on the top of the foot.
- Step 1: Thread the laces through the bottom eyelets, ensuring both ends are even in length.
- Step 2: Lace one side straight up to the top eyelet, creating a vertical line.
- Step 3: Lace the other side horizontally across the shoe, weaving it under and over the vertical lace.
- Step 4: Repeat this pattern until you reach the top. Tie a knot to secure the laces.
3. Tying Skateboard Shoes: Tips and Tricks for the Perfect Fit
Achieving the perfect fit is crucial for optimal skateboarding performance and comfort. Here are some additional tips and tricks to consider:
- Double Knot: Always tie a double knot to prevent your laces from coming undone during skateboarding.
- Lace Length: Adjust the lace length to your preference. Longer laces offer more flexibility for tying different knots and styles, while shorter laces create a cleaner look.
- Lace Tightness: Find the right balance between tightness and comfort. The laces should be snug enough to provide support but not too tight to restrict blood flow or cause discomfort.
- Hidden Knot: If you prefer a cleaner look, tuck the knot inside the shoe or under the tongue.
- Experiment: Don’t be afraid to experiment with different lacing techniques and styles to find what works best for you.
4. Tying Skateboard Shoes: Troubleshooting Common Lacing Issues
Even with the best lacing techniques, you might encounter some common issues. Here’s how to troubleshoot them:
- Heel Slippage: If your heel slips despite using the heel lock technique, try tightening the laces further, or consider using a different lacing style.
- Lace Pressure: If the laces feel too tight on the top of your foot, try loosening them slightly or using a lacing technique that minimizes lace pressure, such as bar lacing.
- Loose Fit: If your shoes feel too loose, even after tightening the laces, consider using a different lacing technique or choosing a shoe model with a narrower fit.
5. Choosing the Right Laces
Laces play a significant role in both the functionality and style of your skateboard shoes. Here are some factors to consider when choosing laces:
- Material: Opt for durable materials like cotton, nylon, or polyester. Avoid laces made from flimsy materials that are prone to breaking.
- Thickness: Thicker laces offer better durability and support, while thinner laces create a more streamlined look.
- Length: Choose the right lace length based on your shoe size and lacing preferences.
- Color: Laces come in a variety of colors, allowing you to express your style and match your shoes or outfit.
Related: Skateboard Hardware Issues: Common Problems and Fixes
6. Maintenance and Care
Proper maintenance and care will prolong the lifespan of your skateboard shoes and laces. Here are some tips:
- Clean Regularly: Wipe off dirt and grime with a damp cloth or brush. Avoid using harsh chemicals or machine washing, which can damage the materials.
- Replace Laces: When your laces show signs of wear and tear, replace them with new ones to maintain a secure fit and prevent them from breaking during skateboarding.
- Store Properly: Store your shoes in a cool, dry place away from direct sunlight and moisture.
Related: Safety First: Ensuring Proper Grip Tape for Your Skateboard
Conclusion
Tying your skateboard shoes correctly is an essential skill that combines style and functionality. By mastering various lacing techniques, understanding your foot shape and skateboarding style, and choosing the right laces, you can achieve the perfect fit, enhance your performance, and express your individuality on the board. Remember, practice makes perfect. Experiment with different techniques, troubleshoot common issues and find what works best for you. With the right knowledge and approach, you can confidently tie your skateboard shoes and embark on your skateboarding journey with style and confidence.


