Skateboarding through puddles or caught in a downpour? A waterlogged skateboard can feel like a disaster. Water damage weakens the deck, rusts bearings, and ruins grip tape. But don’t toss your board yet! With the right steps, you can restore your waterlogged skateboard to its former glory. This guide walks you through fixing a waterlogged skateboard, saving you time and keeping you shredding. According to a 2023 study by the Sports & Fitness Industry Association, over 8.7 million Americans skate regularly, and many face water damage issues. Let’s dive into how to fix your board and get back to the streets.
Why Waterlogged Skateboards Are a Problem
Water exposure harms every part of a skateboard. The deck, made of layered wood, absorbs water, causing swelling and delamination. Bearings rust, slowing your roll. Grip tape loses stickiness, making tricks risky. Ignoring water damage leads to warped decks and broken boards. Acting fast prevents permanent harm and extends your board’s life.
Assessing the Damage
Before fixing your skateboard, check the extent of water exposure. Inspect each component carefully.
- Deck: Look for swelling, warping, or soft spots. Press the wood to feel for weakness.
- Grip Tape: Check for peeling or bubbling. Wet grip tape feels slippery and loose.
- Bearings: Spin the wheels. Slow or gritty movement signals rust or water inside.
- Trucks and Hardware: Look for rust or corrosion on metal parts.
Identifying damage early helps you prioritize repairs. A slightly damp board is easier to fix than one soaked for days.
Tools and Materials You’ll Need
Gather these items before starting repairs. Most are household items or easily found at hardware stores.
- Clean, dry towels
- Hairdryer or fan
- Screwdriver (Phillips or flathead, depending on your board)
- Replacement grip tape (optional)
- Sandpaper (medium and fine grit)
- Bearing cleaner or isopropyl alcohol
- Lubricant (skate-specific or WD-40)
- Waterproof sealant or wood varnish
- Soft brush or toothbrush
- Dry cloth or microfiber towel
Having everything ready speeds up the process and ensures a thorough fix.
Step-by-Step Guide to Fixing a Waterlogged Skateboard
Follow these steps to restore your waterlogged skateboard. Each step targets a specific component for maximum recovery.
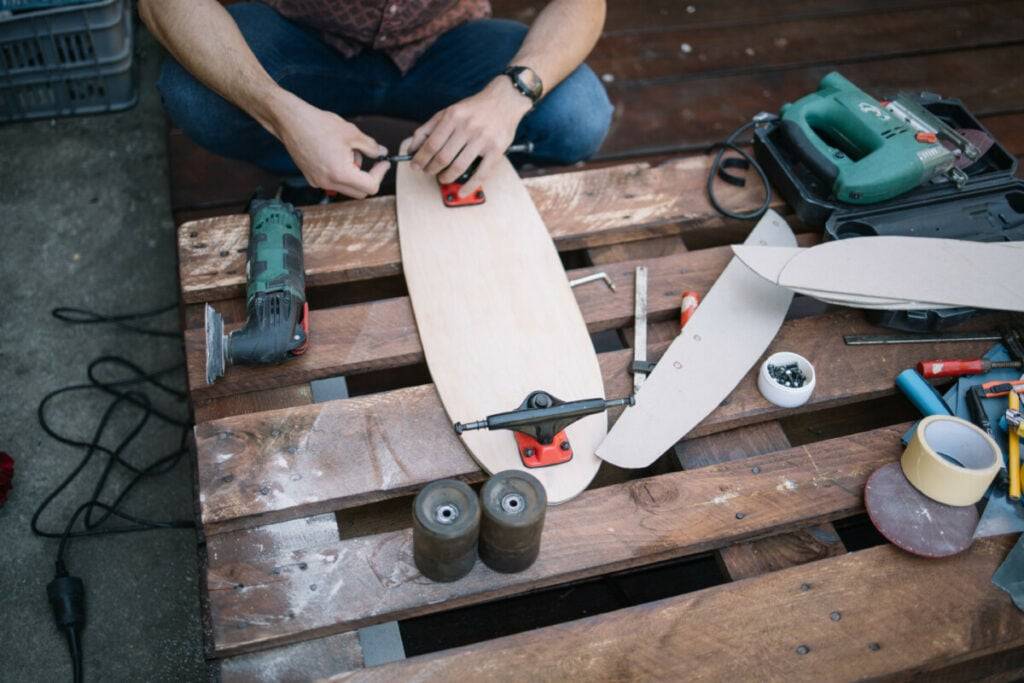
Step 1: Disassemble the Skateboard
Start by taking the skateboard apart. This allows you to dry and repair each part.
- Remove the trucks using a screwdriver or skate tool.
- Take off the wheels from the trucks.
- Separate the bearings from the wheels.
- Peel off the grip tape if it’s loose or damaged.
Lay all parts on a clean, dry surface. Keep screws and small parts in a safe place.
Step 2: Dry the Deck
The deck is the heart of your skateboard. Drying it properly prevents warping and delamination.
- Wipe the deck with a dry towel to remove surface water.
- Place the deck in a well-ventilated area, away from direct sunlight.
- Use a hairdryer on low heat or a fan to speed drying. Keep the hairdryer 6–8 inches away to avoid overheating.
- Let the deck air dry for 24–48 hours. Check for dryness by pressing the wood; it should feel firm, not spongy.
Avoid ovens or microwaves—they cause cracking or fire hazards. A 2021 study from the University of California found that air-drying wood preserves its structural integrity better than rapid heating.
Step 3: Clean and Dry the Bearings
Rusty bearings ruin your ride. Cleaning and drying them restores smooth spins.
- Soak bearings in bearing cleaner or isopropyl alcohol for 10–15 minutes.
- Use a soft brush to scrub away dirt and rust.
- Rinse with clean alcohol and dry with a cloth.
- Apply skate-specific lubricant sparingly.
- Spin each bearing to ensure it moves freely.
Replace bearings if they remain gritty or rusted after cleaning.
Step 4: Restore or Replace the Grip Tape
Wet grip tape loses traction. Fixing or replacing it ensures safe skating.
- If the grip tape is slightly damp, dry it with a hairdryer on low heat.
- For bubbling or peeling tape, remove it completely.
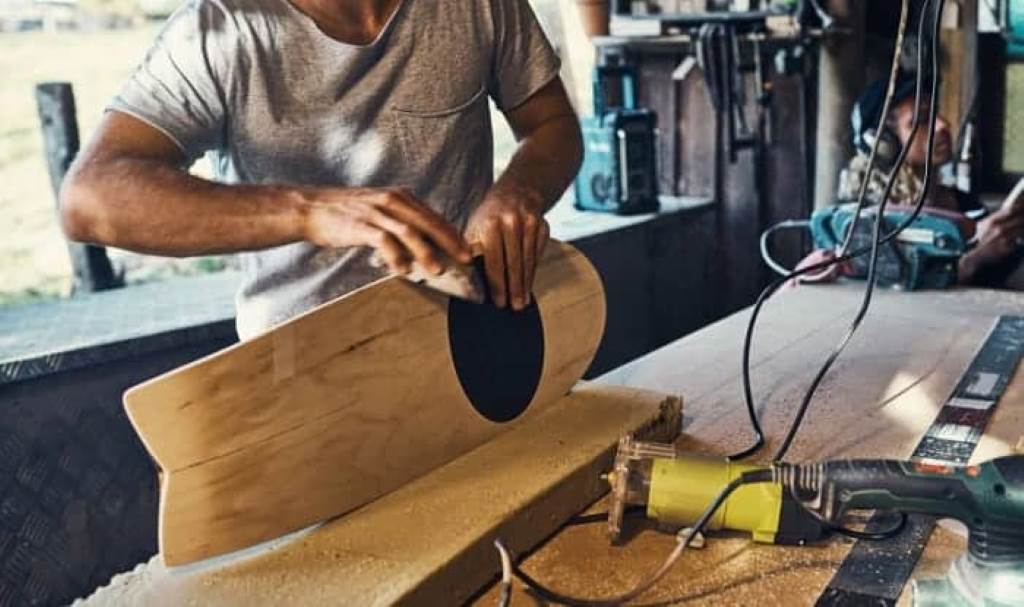
- Sand the deck lightly to smooth the surface.
- Apply new grip tape, pressing firmly to avoid bubbles.
- Trim excess tape with a razor blade for a clean edge.
Choose high-quality grip tape for better traction and durability.
Step 5: Inspect and Clean Trucks and Hardware
Metal parts like trucks and screws rust when wet. Cleaning them prevents long-term damage.
- Wipe trucks and screws with a dry cloth.
- Use a toothbrush to scrub rust spots with isopropyl alcohol.
- Dry thoroughly and apply a thin layer of lubricant to prevent future rust.
Replace any heavily corroded hardware to maintain stability.
Step 6: Seal the Deck for Protection
Sealing the deck prevents future water damage. This step is key for long-term board health.
- Sand the deck lightly to prepare the surface.
- Apply a thin layer of waterproof sealant or wood varnish with a brush.
- Let it dry for 24 hours in a ventilated area.
- Sand lightly again and apply a second coat for extra protection.
Sealing strengthens the wood and repels water, extending your board’s life.
Step 7: Reassemble and Test the Skateboard
Once all parts are dry and repaired, put the skateboard back together.
- Reattach the trucks using the screws.
- Insert bearings into the wheels and secure them to the trucks.
- Spin the wheels to check for smooth rotation.
- Test the board on a flat surface to ensure stability and responsiveness.
Ride gently at first to confirm everything works properly.
Tips to Prevent Future Water Damage
Protecting your skateboard from water saves time and effort. Follow these tips to keep your board dry.
- Avoid skating in rain or through puddles.
- Store your skateboard in a dry, cool place.
- Use a waterproof skateboard bag for transport.
- Apply sealant every 6–12 months for ongoing protection.
- Check bearings regularly and lubricate them to prevent rust.
Proactive care keeps your board in top shape for longer.
Read Also:
- The Ultimate Guide to the Best Skateboard Wheels for Cruising in 2025
- Trazon Heavy-Duty Non-Slip Stair Tape: Your Ultimate Waterproof Safety Grip Solution
- Amazing Works Store Durable Anti-Slip Grip Tape for Safe Indoor & Outdoor Stairs
Common Mistakes to Avoid
Fixing a waterlogged skateboard is straightforward, but mistakes can worsen damage. Steer clear of these pitfalls.
- Rushing the Drying Process: Forcing heat damages the deck. Air-dry patiently.
- Ignoring Rust: Uncleaned bearings or trucks fail over time. Clean thoroughly.
- Skipping Sealing: Unsealed decks absorb water faster. Always seal after repairs.
- Using Low-Quality Materials: Cheap grip tape or sealant wears out quickly. Invest in quality.
Avoiding these errors ensures a successful repair and a longer-lasting board.
FAQs
How long does it take to fix a waterlogged skateboard?
Drying and repairing a waterlogged skateboard takes 2–3 days, depending on damage. Drying the deck alone requires 24–48 hours.
Can I skate on a waterlogged board right away?
No. Skating on a wet board risks warping and breaking. Dry and repair it first.
How do I know if my bearings are too damaged?
If bearings feel gritty or don’t spin smoothly after cleaning, replace them. Damaged bearings slow your ride and cause instability.
Is it worth fixing a heavily waterlogged skateboard?
Yes, if the deck isn’t cracked or delaminated. Minor warping and rust are fixable with proper care.
Can I prevent all water damage?
Not entirely, but sealing the deck, avoiding wet conditions, and regular maintenance reduce risks significantly.
Conclusion
Fixing a waterlogged skateboard is easier than it seems. Disassemble, dry, clean, and seal your board to restore its performance. Act quickly to prevent permanent damage. With the right tools and steps, you’ll be back to landing tricks in no time. Grab your tools, follow this guide, and keep your board rolling strong!
References
- Sports & Fitness Industry Association (2023). Skateboarding Participation Report. https://www.sfia.org/reports/participation/
- University of California (2021). Wood Drying Methods Study. https://www.ucdavis.edu/research/wood-drying


