The nuts and bolts of your skateboard setup might seem trivial, but choosing the right hardware and assembling it correctly makes a world of difference in your skateboarding experience. A well-assembled board feels responsive, rolls effortlessly, and is far less likely to suffer from frustrating problems.
This guide will delve into the essential components of skateboard hardware, help you choose the right options for your needs, and provide step-by-step instructions on assembling your skateboard like a pro.
The Anatomy of Skateboard Hardware
While small, skateboard hardware packs a big punch, consisting of several key elements:
- Bolts: Skateboard bolts are threaded fasteners that secure your trucks to your deck. They come in various lengths to accommodate different setup preferences.
- Nuts: These hexagonal fasteners work with the bolts to clamp your trucks securely to the deck. Most skate hardware sets use standard nuts, but some feature the added security of locking nuts.
- Kingpin: This large, central bolt holds the various components of your truck’s baseplate and bushings together.
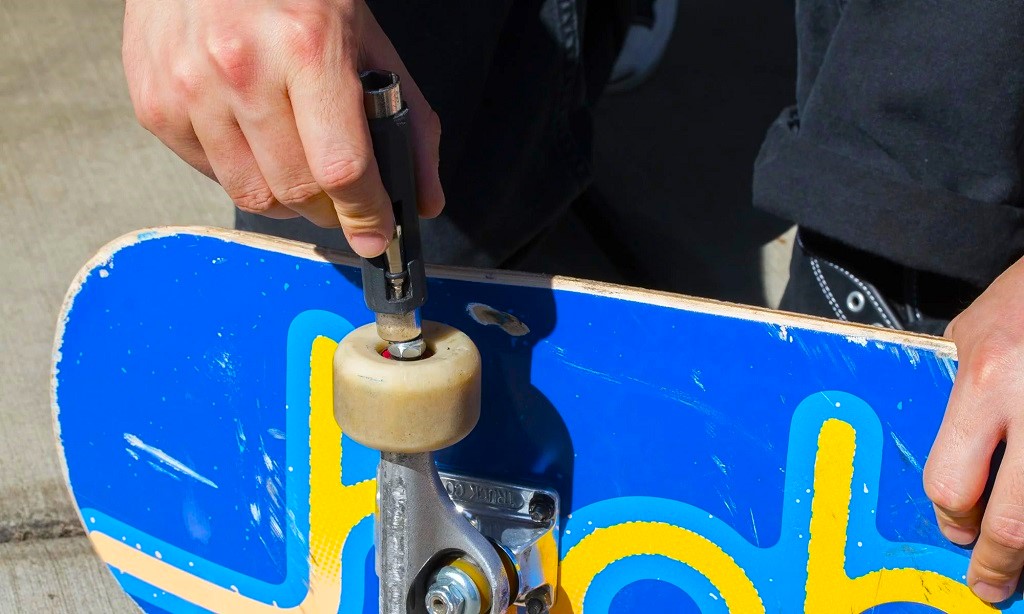
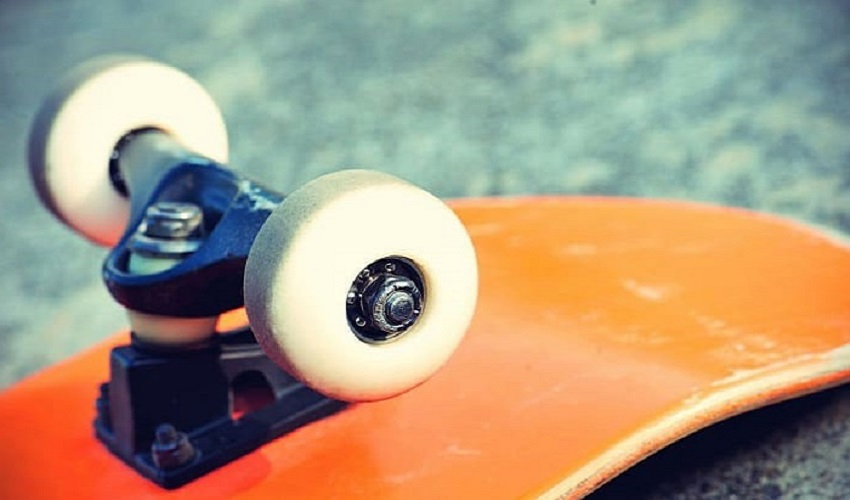
- Axle Nuts: These secure your wheels onto your trucks’ axles.
- Speed Washers (optional): Thin, metal rings that sit between the bearings and the truck hanger (or axle nut) to reduce friction and increase rolling speed.
T-Type Allen Key and L-Type Phillips Head Wrench Screwdriver
- Color: Black, Blue, Green, Red
- Material: Stainless Steel, Polypropylene
- Brand: Zeato
Choosing Your Hardware
Here’s a breakdown of the main considerations when selecting skateboard hardware:
- Bolt Length: The most important factor. You need bolts long enough to go through the deck, and the truck baseplate, and leave room for the nut to tighten securely. Lengths typically range from 7/8″ to 1.5″. Here’s a general guide:
- 7/8” – Decks without risers
- 1” – Decks with thin risers (1/8″)
- 1.25” – Decks with thicker risers (1/4″)
- 1.5” – Decks with extra thick risers (1/2″)
- Head Type: Skateboard bolts come in two main head types:
- Phillips: Cross-shaped head for use with a Phillips screwdriver.
- Allen (or Hex): Hexagonal recess for use with an Allen wrench. Allen bolts are becoming more popular as they’re less prone to stripping.
- Material: Most hardware is made from durable steel, but titanium options exist for those looking to shave weight.
Assembling Your Skateboard

Let’s walk through the steps of assembling your skateboard with the correct hardware:
- Gather your tools: You’ll need a skate tool (or a Phillips screwdriver/Allen wrench and socket wrench), your hardware, deck, trucks, and any optional components like risers or shock pads.
- Insert the bolts: Thread the bolts through the top of your deck so the heads sit flush against the grip tape.
- Attach the trucks: Align the truck baseplates with the bolt holes, ensuring the kingpins face inward toward the center of the board.
- Add nuts: Loosely thread the nuts onto the bolts.
- Tighten the hardware: Use your skate tool to tighten the nuts. Aim for the bolt heads to be flush with the grip tape, but avoid overtightening, which can damage your deck.
- Mount the wheels: If you haven’t already, slide a bearing into each wheel, followed by a speed washer (if using them). Place the wheel onto the axle with another speed washer on the outside, then thread on the axle nut and tighten. Check that your wheels can spin freely.
Related: How Much Do Skateboards Weigh?
Additional Tips and Considerations
- Riser Pads and Shock Pads: Riser pads lift your trucks, adding wheel clearance and reducing wheel bite. Shock pads go between your deck and trucks to absorb vibrations.
- Threadlocker: Applying a small amount of thread locker to your bolts can help prevent them from loosening due to vibration.
- Regular Maintenance: Regularly check your hardware for tightness and replace any worn or damaged components.
Conclusion
Skateboard hardware, though easily overlooked, plays a crucial role in how your board performs and feels. By understanding the components involved, choosing the right hardware set, and following proper assembly techniques, you can unlock the full potential of your skateboard setup. So next time you replace a broken board or upgrade your ride, don’t skimp on the bolts!


