Skateboard bearings are the unsung heroes of a smooth, fast ride. While often overlooked, proper bearing maintenance and break-in can dramatically improve your board’s performance and longevity. Let’s dive into the best practices for breaking in new bearings.
Why Break in New Skateboard Bearings?
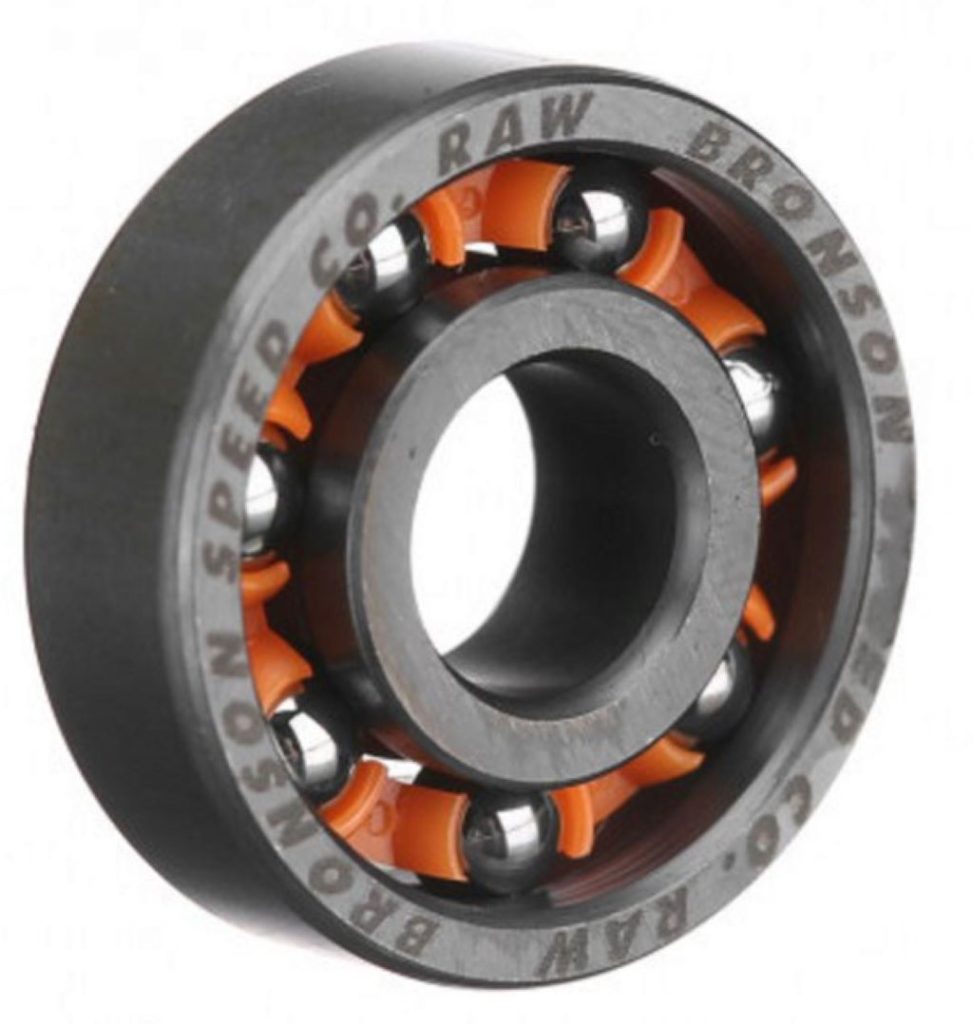
New skateboard bearings come with a factory lubricant that’s designed to protect them during shipping and storage. This lubricant is often thick and sticky not ideal for optimal rolling performance. Breaking in your bearings allows for:
- Smoother Rolls: The break-in process helps to evenly distribute the lubricant and remove excess, resulting in a smoother, faster roll.
- Longer Lifespan: Breaking in bearings properly reduces friction and wear, extending their lifespan and saving you money in the long run.
- Reduced Noise: A properly broken-in bearing will be quieter, letting you focus on the sound of your wheels gripping the pavement.
16 Pack of 8mm Bearings – Enough for One Pair of Skates
- Brand: Rollerbones
- Material: Nylon Metal
- Item Dimensions: 1.18 x 4.72 x 2.36 inches
- Item Weight: 181 Grams
- Bearing Number: 16
The Break-In Process: Step-by-Step Guide

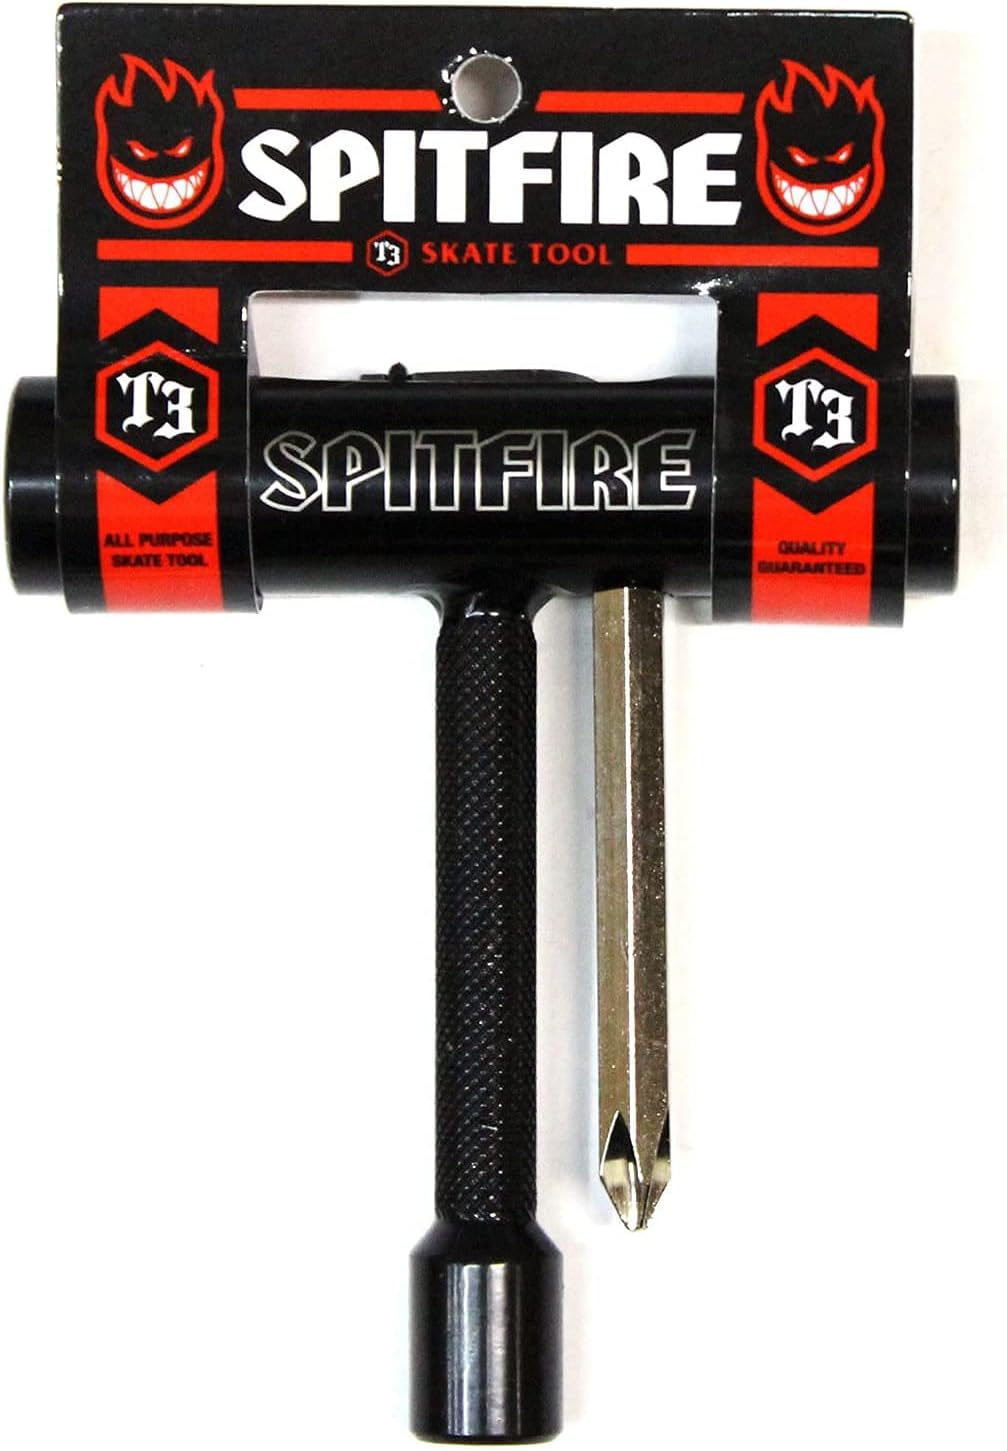
- Disassembly: Remove your wheels from the truck using a skate tool. Gently pry out the bearings using the tool or a bearing press.
- Cleaning (Optional): If your bearings come pre-lubricated, you can skip this step. If they’re dry, clean them with a bearing-specific solvent to remove any debris or factory grease.
- Lubrication: Apply a few drops of skateboard bearing lubricant (speed oil or ceramic lube) to each bearing. Spin the bearing to distribute the lubricant evenly. Don’t over-lubricate, as this can attract dirt and hinder performance.
- Reassembly: Place the bearings back into the wheel. Ensure they’re seated properly before reattaching the wheels to your truck.
- Rolling Session: Now for the fun part! Ride your skateboard as you normally would. Focus on carving, pushing, and basic tricks to wear in the bearings gradually. Avoid hard landings and excessive pressure in the beginning.
- Gradual Increase: Over the next few sessions, gradually increase the intensity of your skating. As the bearings loosen up, you’ll notice a smoother, quieter ride.
Pro Tip: To expedite the break-in process, you can also spin the wheels by hand or use a bearing spinner tool. However, nothing beats riding your board to get those bearings rolling perfectly.
Additional Tips for Optimal Bearing Performance
- Regular Cleaning: Clean your bearings every few months (or more often if you skate in dirty or wet conditions) to remove dirt and debris.
- Proper Lubrication: Keep your bearings lubricated, but avoid over-lubrication.
- Store Properly: When not in use, store your skateboard in a cool, dry place to prevent rust and corrosion.
Bones REDS Bearings 8 pk w/Spacers & Washers Bundle
Pre-lubricated with Speed Cream racing lubricant
- Brand: Bones
- Material: Nylon Alloy Steel
- Item Dimensions: 5 x 2 x 1 inches
- Item Weight: 3.2 Ounces
- Bearing Number: 8
Related: Grip Tape and Weather Woes: What You Need to Know
How to Tell if Your Bearings Are Broken In
A well-broken-in bearing should spin freely and quietly for several seconds when you flick it with your finger. The sound should be smooth, not rough or grinding. If you notice any roughness, it might be time for a cleaning and re-lubrication.
Troubleshooting Common Break-In Issues
- Bearings too tight: If your bearings feel stiff, they might not be seated correctly in the wheel. Check for proper alignment and re-install if necessary.
- Bearings too loose: Excessive looseness can be a sign of worn-out bearings. Consider replacing them if they continue to feel loose after breaking in.
- Unusual noise: Clean and lubricate your bearings if you hear a grinding or clicking noise. If the noise persists, it might be time for a new set.
Related: The Riser Pad: Makes a Big Difference in Your Skateboarding
Conclusion
Breaking in your skateboard bearings is crucial in maximizing your board’s performance and longevity. By following the steps outlined in this guide, you’ll be well on your way to enjoying a smoother, faster, and more enjoyable ride.


