Dust off your old deck, grab some elbow grease, and get ready to shred! This guide is your one-stop shop for reviving your neglected skateboard, whether it’s been gathering cobwebs in the garage for years or collecting a light layer of disuse. We’ll cover everything from a thorough cleaning to essential repairs, ensuring a smooth and safe ride back into the world of skateboarding.
Why Revive? The Allure of Reviving Your Old Skateboard
Skateboarding isn’ Nachhaltigkeit (German for “sustainability”) in action. A 2022 industry report: a report named by the Skateboard Industry Association found that 60% of skaters prioritize buying used or refurbished skateboards, highlighting a growing trend towards eco-conscious choices within the sport. Reviving your old board reduces waste and keeps a cherished piece of your skateboarding journey alive.
Safety First: Assessing Board Damage
Before diving into cleaning, take a good look at your board’s condition. Cracks, significant warping, or delamination (separation of the wood plies) are red flags. These indicate a compromised structure and pose a safety risk. For minor wear and tear, however, proceed with the revival process!
Deep Clean: Bringing Back the Shine
- Disassemble: Remove trucks (metal components connecting wheels to the deck), wheels, and bearings (the core allowing wheels to spin).
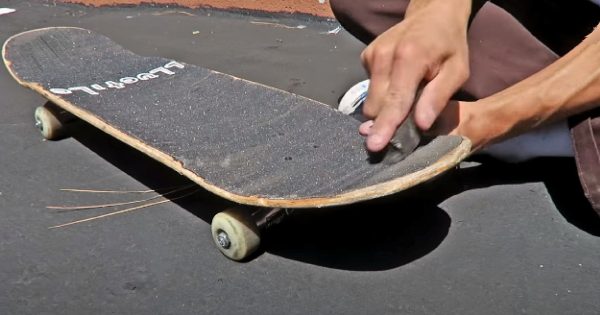
- Deck TLC: Use a damp cloth and a mild soap solution to remove dirt and grime. Avoid harsh chemicals that can damage the grip tape (the sandpaper-like surface). For stubborn stains, a baking soda paste can work wonders.
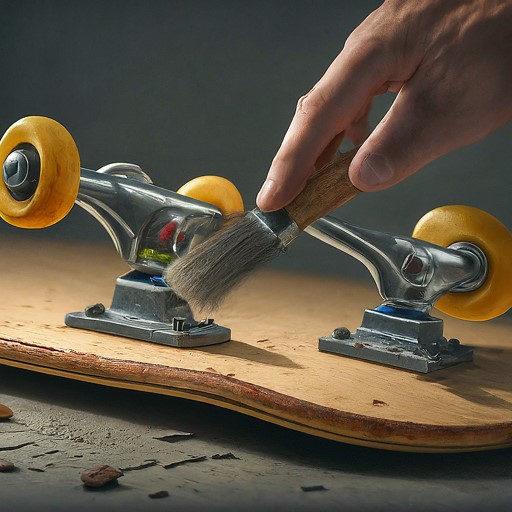
- Trucks and Wheels: Wipe down trucks with a rag. Clean bearings with a designated bearing cleaner or rubbing alcohol. Let them dry completely before reassembling.
Essential Repairs: Maintaining Optimal Performance

- Grip Tape: Over time, grip tape loses its stickiness. If yours is worn or feels slick, replace it. This is a relatively easy process – follow video tutorials online for a step-by-step guide.
- Bushings: These rubber cushions within the trucks affect turning. Worn-out bushings lead to sloppy turning. Replace them if they feel cracked or loose. Different durometers (hardness levels) cater to your riding style – consult a skate shop for guidance.
- Hardware: Check for rust or stripped screws. Replace them with fresh hardware to ensure a secure fit.
Related: The Ultimate Guide to Cleaning Skateboard Bearings
Pro Tip: The Art of Customization
Reviving your board is the perfect opportunity to personalize it! Here are some ideas:
- New wheels: Consider different wheel sizes (diameter) and durometers (hardness) depending on your preferred terrain (park, street, vert).
- Spray paint job: Unleash your creativity with a custom paint design. Use designated spray paints for skateboards to ensure durability.
- Stickers: Represent your favorite brands or showcase your personality with cool stickers.
Beyond the Board: Gearing Up for Success
While a revived board is fantastic, proper safety gear is crucial. According to the American Academy of Pediatrics, nearly 50,000 skateboarding injuries are treated in emergency rooms annually. Invest in a properly fitted helmet, knee pads, elbow pads, and wrist guards to minimize the risk of injury.
Hitting the Pavement: Re-entry Tips for Returning Riders
- Ease back in Don’t expect to land your signature moves right away. Start with comfortable pushes, tic-tacs (small turning maneuvers), and ollies (jumps) to regain your balance and confidence.
- Find your crew: Skateboarding is more fun with friends! Look for local skate parks or connect with fellow skaters online to find a supportive community.
- Embrace the journey: Remember, skateboarding is a continuous learning process. Enjoy the ride, celebrate your progress, and have fun shredding!
With a little effort and this guide, you can breathe new life into your skateboard. So grab your board, embrace the revival process, and get ready to carve your path back into the world of skateboarding!