Skateboard bearings are the unsung heroes of a smooth ride. They allow your wheels to spin freely, but over time, dirt, grime, and general wear can slow them down. This guide will show you how to diagnose bearing issues, clean them effectively, and decide when it’s time for a replacement.
Understanding Skateboard Bearings
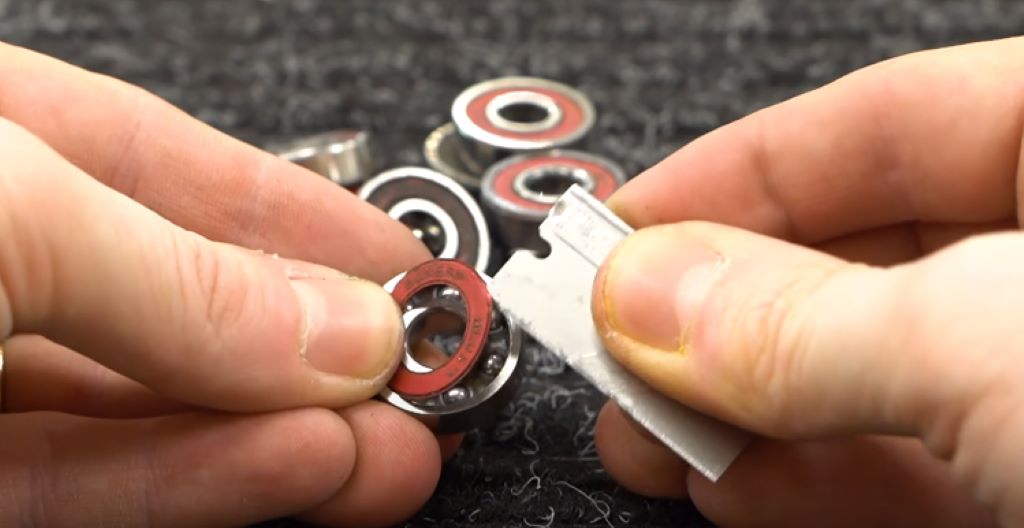
Skateboard bearings are small, round metal components housed inside your wheels. They contain tiny balls that roll, reducing friction and allowing the wheels to spin. Each wheel typically has two bearings. When they’re clean and lubricated, they’ll spin almost silently and for an extended time. Worn bearings can cause a rough, noisy ride and even make it harder to push.
Diagnosing the Problem
Signs Your Bearings Need Attention:
- Noise: A grinding, rumbling, or clicking sound as you roll.
- Roughness: The wheels feel like they’re catching or not spinning freely.
- Slowing Down Quickly: Your board loses speed faster than usual.
Simple Test:
- Remove a wheel from your board.
- Hold the wheel and spin it. A good bearing should spin smoothly and quietly for several seconds.
- Listen and feel for any of the problems listed above.
Cleaning Your Bearings
Regular cleaning can significantly extend the life of your bearings. Here’s how to do it:
Materials:
- Skate tool or socket wrench (to remove wheels)
- Bearing press or truck axle (to remove bearings)
- Cleaning solvent (citrus degreaser, mineral spirits, or specialized bearing cleaner)
- Small container or cleaning tray
- Lubricant (skateboard bearing oil or speed cream)
- Paper towels or clean rags
Steps:
- Remove the Wheels: Use your skate tool to loosen the axle nuts and take off the wheels.
- Remove the Bearings: This is easiest with a bearing press, but you can also use the truck axle itself. (Be careful not to damage the bearings!)
- Soak and Agitate: Place the bearings in your container and cover them with the cleaning solvent. Let them soak for a few minutes, then swirl them around to loosen dirt and grime. You may need to repeat this step if they’re particularly dirty.
- Dry Thoroughly: Remove the bearings and wipe off any excess solvent. Let them air dry completely or use compressed air if available. Make sure they’re bone dry before lubricating.
- Lubricate: Apply a few drops of lubricant to each bearing. Spin them to distribute the oil evenly. Wipe off any excess.
Related: Breathe New Life into Your Ride: The Ultimate Guide to Cleaning Skateboard Bearings
When to Replace
If your bearings still don’t spin smoothly and quietly after cleaning, they’re likely worn out and should be replaced. This usually happens after significant use or if they’ve been exposed to water and dirt regularly.
Tips and Considerations
- Preventive Maintenance: Regularly clean your bearings, especially after skating in wet or dirty conditions.
- Choose Quality Bearings: Higher-quality bearings will generally last longer and perform better. Look for brands with good reputations and ABEC ratings (a measure of precision).
- Proper Lubrication: Use the right type of lubricant designed for skateboard bearings.
Safety First
Wear gloves when working with solvents and lubricants, and always follow the manufacturer’s instructions for cleaning and maintenance.
Enjoy the Ride!
With a little care and attention, your skateboard bearings can keep you rolling smoothly for many sessions to come. Don’t let worn-out bearings hold you back – fix them or replace them, and get back to enjoying your ride!