Want to give your skateboard a fresh, personalized look? Learning how to paint a skateboard with acrylic paint is a fantastic way to express your creativity and make your ride truly unique. This comprehensive guide walks you through every step, from preparation to sealing, ensuring a vibrant and durable finish. Let’s dive into transforming your skateboard into a rolling masterpiece!
Preparing Your Skateboard for Acrylic Paint
Before you even think about applying color, proper preparation is crucial. This ensures the acrylic paint adheres correctly and lasts longer. A smooth, clean surface is the foundation for a professional-looking paint job.
Removing Existing Graphics and Finish
First, you need to strip away any existing graphics or old paint. This can be done using sandpaper, a heat gun, or chemical strippers.
- Sanding: Use coarse sandpaper (80-grit) to remove the bulk of the finish, then switch to finer grits (120-220) for a smooth surface. Sand evenly to avoid creating uneven spots.
- Heat Gun: Carefully apply heat to soften the existing finish, then scrape it off with a putty knife. Be cautious not to overheat the wood.
- Chemical Strippers: Follow the product instructions carefully. These can be effective but require proper ventilation and safety gear.
Cleaning and Sanding the Surface
Once the old finish is gone, thoroughly clean the skateboard deck with a damp cloth to remove any dust or debris.
- Use a tack cloth to pick up any remaining fine particles.
- Lightly sand the surface with 220-grit sandpaper to create a slight “tooth” for better paint adhesion. This step is vital for the acrylic paint to bond properly.
- Wipe down the deck again with a clean, dry cloth.
Priming the Skateboard Deck
Priming is essential for creating a uniform base and improving paint adhesion. Use a high-quality acrylic primer specifically designed for wood.
- Apply a thin, even coat of primer using a brush or spray can.
- Allow the primer to dry completely according to the manufacturer’s instructions.
- Lightly sand the primed surface with fine-grit sandpaper (320-400) for a smoother finish.
- Apply a second thin layer of primer if needed, and allow to dry.
Painting Your Skateboard with Acrylics

Now for the fun part: applying the acrylic paint! This is where your creativity comes to life.
Choosing the Right Acrylic Paints
Select high-quality acrylic paints designed for durability and flexibility. Artist-grade or multi-surface acrylics are excellent choices.
- Consider using acrylic paints specifically formulated for outdoor use if your skateboard will be exposed to the elements.
- Gather a variety of colors and brushes to achieve your desired design.
- Acrylic paint pens are also a great option for fine detail.
Applying the Base Coat
Start with a base coat of your chosen color. This provides a solid foundation for your design.
- Apply thin, even layers of paint using a brush, foam roller, or airbrush.
- Allow each layer to dry completely before applying the next.
- Multiple thin coats are better than one thick coat, preventing drips and ensuring even coverage.
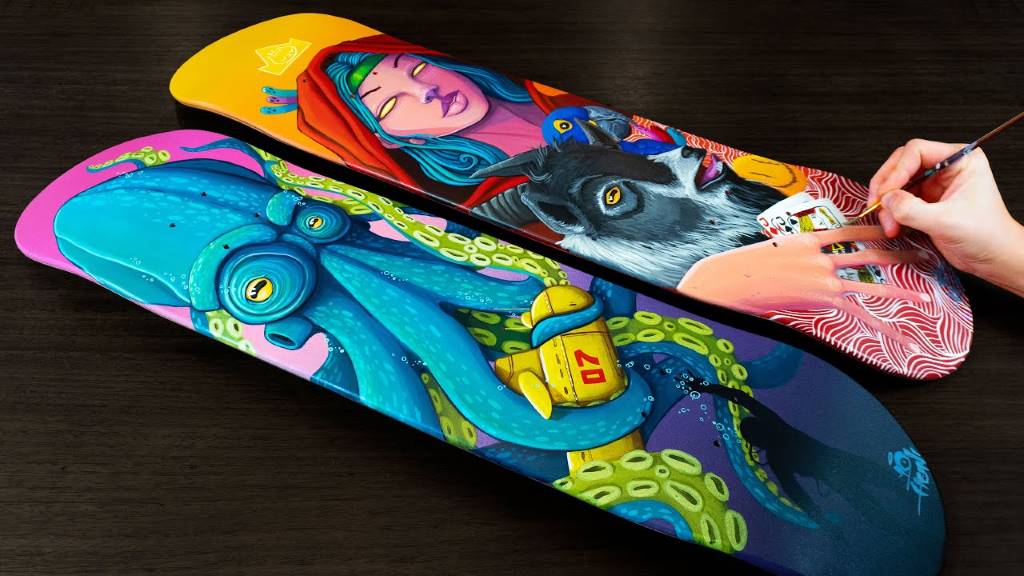
Creating Your Design
Let your imagination run wild! You can create intricate designs, simple patterns, or anything in between.
- Use masking tape to create clean lines and geometric shapes.
- Stencils can be used for detailed designs and lettering.
- Freehand painting allows for unique and personalized artwork.
- Experiment with different brush strokes and techniques to achieve the desired effect.
Adding Details and Finishing Touches
Once your main design is complete, add any necessary details and finishing touches.
- Use fine-tip brushes or paint pens for intricate details.
- Consider adding metallic or glitter accents for a unique look.
- Allow the paint to dry completely before moving on to the next step.
Sealing and Protecting Your Painted Skateboard
Sealing your painted skateboard is crucial for protecting the artwork and ensuring its longevity.
Choosing the Right Sealant
Select a high-quality acrylic sealant or clear coat designed for outdoor use.
- Look for sealants that offer UV protection to prevent fading.
- Consider using a polyurethane or epoxy-based sealant for maximum durability.
- A spray on sealant is easiest to apply evenly.
Applying the Sealant
Apply thin, even coats of sealant using a spray can or brush.
- Allow each coat to dry completely before applying the next.
- Apply multiple coats for maximum protection.
- Ensure the sealant covers the entire painted surface, including edges and corners.
Curing and Drying
Allow the sealant to cure completely according to the manufacturer’s instructions. This may take several hours or even days.
- Avoid using the skateboard until the sealant is fully cured.
- Store the skateboard in a cool, dry place during the curing process.
- Once cured, the finish should be hard and durable.
Tips for Long-Lasting Results
To keep your painted skateboard looking its best, follow these tips:
- Avoid exposing the skateboard to extreme temperatures or moisture.
- Clean the surface regularly with a soft cloth and mild soap.
- Touch up any scratches or chips as needed.
- Store your skateboard indoors when not in use.
Materials You’ll Need
- Skateboard deck
- Sandpaper (80-grit, 120-grit, 220-grit, 320-grit, 400-grit)
- Heat gun (optional)
- Chemical stripper (optional)
- Putty knife (optional)
- Damp cloth
- Tack cloth
- Acrylic primer
- Acrylic paints
- Paintbrushes (various sizes)
- Masking tape
- Stencils (optional)
- Acrylic sealant or clear coat
- Spray can or brush for sealant
- Paint pens (optional)
Conclusion
Painting your skateboard with acrylic paint is a rewarding DIY project that allows you to personalize your ride. By following these steps, you can create a unique and durable finish that reflects your style. Remember to take your time, prepare the surface properly, and seal your artwork for long-lasting results. Now that you know how to paint a skateboard with acrylic paint, grab your supplies and start creating!
Ready to transform your skateboard? Share your creations with us in the comments below! Don’t forget to subscribe for more DIY tips and tricks.


