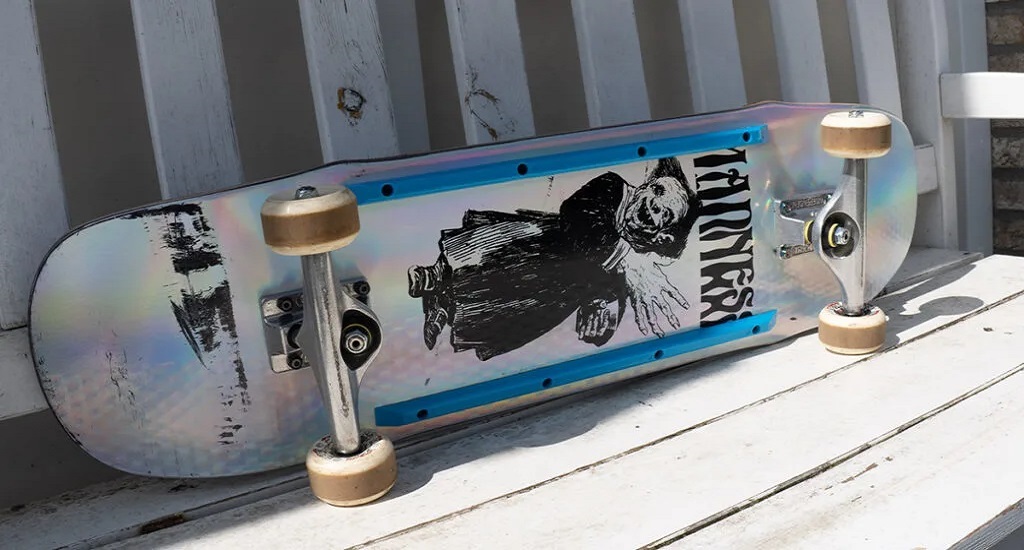
Skater or not, you’ve likely seen those plastic strips along the edges of some skateboard decks. Those are deck rails, which are more functional than you might initially think. If you’re into grinds, and slides, or want to keep your board looking fresh, deck rails can be a worthy addition to your setup.
The Perks of Deck Rails
- Slide Enhancement: Deck rails create a reduced-friction surface on your board’s edges. This makes grinds and board slides smoother, allowing you to lock into those tricks more easily.
- Board Protection: The brunt of the impact during slides and grinds is absorbed by the rails, not your deck’s wood. This prolongs the life of your deck and minimizes those nasty chips and cracks.
- Flip Trick Aid: Some skaters swear that rails help them scoop their board during flip tricks, providing a smoother surface for consistent flicks.
- Customization: Rails come in various colors, letting you add a personal touch to your skateboard.
Powell-Peralta Rib Bones Skateboard Rails

Designed by professional skaters
- Brand: Powell-Peralta
- Color: Lime Green, Pink, Red, Yellow
- Skill Level: All
- Item Weight: 2.4 Ounces
- Material: Ultra High Molecular Polyethylene
Types of Deck Rails
- Ribbed: The classic and most popular type. Their ribbed surface offers maximum slide potential for those focused on grinds and slides.
- Slimline: A thinner profile rail excellent for board slides while minimizing added bulk to your board.
- Old School: As wide as the deck itself, these were the original rails from the 1980s. They offer the most board protection but can be a bit bulky for modern street skating.
Are Deck Rails Right for You?
It depends on your skating style:
- Street/Park Skaters: If you love grinds, and boardslides, and want extra board protection, go for it!
- Cruisers/Longboarders: Functionally, there’s little benefit for cruisers.
- Absolute Beginners: Master the basics before adding rails. They’re not a magic tool for learning tricks.
Related: The Importance of Freestyle Skateboard Wheels
Installation Guide
Installing deck rails is a straightforward process. Here’s what you’ll need:
- Your chosen deck rails
- Screwdriver (preferably electric)
- Sandpaper (medium grit)
- Lighter or heat gun (optional)
Steps:
- Clean and Prep: Ensure your deck’s edges are clean and dry. Lightly sand the edges for optimal adhesion.
- Cut to Size: Measure and cut the rails to match the length of your deck edges.
- Heat (Optional): Slightly heating the rails with a lighter or heat gun can make them more pliable and easier to shape. Be cautious not to melt the plastic.
- Peel and Stick: Most modern rails come with pre-applied adhesive. Remove the backing and carefully align the rails with the edges of your deck, pressing firmly.
- Screw It On Using short wooden screws, secure the rails at the ends and intervals of roughly six inches. Make sure the screws don’t penetrate the top of the deck.
- Trim and Smooth: Use sandpaper to remove any overhang and smooth out rough spots.
Things to Remember
- Compatibility: Not all rails fit all board shapes. When buying, ensure they’re compatible with your board’s profile.
- Replace When Worn: Once rails get excessively worn down, their effectiveness lessens. Remove old rails and replace them for the best performance.
- Experiment and Find Your Preference: Ribbed vs. slimline, the choice comes down to personal preference based on your style.
The Final Word
Deck rails are a simple, affordable way to unlock smoother grinds and slides and can extend the lifespan of your deck. While not essential, they’re a great asset for skaters who find those aspects of skateboarding appealing. Give them a shot, they might just level up your board game!

