Proper grip tape is the gritty, sandpaper-like surface on your skateboard deck. It’s your lifeline, providing the traction needed for control and tricks. However, a poorly applied grip tape can lead to slips, falls, and injuries. This guide will walk you through the process of ensuring your grip tape stays securely adhered, no matter how hard you shred.
Why Proper Grip Tape Adhesion Matters
Imagine landing an ollie only to have your foot slip off the board. Proper grip tape adhesion isn’t just about performance; it’s about your safety. A loose or peeling grip tape can cause:
- Accidents: Slips and falls can result in scrapes, bruises, sprains, or even fractures.
- Reduced Control: It’s harder to land tricks or maintain balance when your feet can’t grip the board properly.
- Shorter Grip Tape Lifespan: A grip tape that doesn’t adhere well will wear out and need replacement sooner.
Tools and Materials You’ll Need
- Fresh Grip Tape: Choose a brand and grit level that suits your preferences.
- Box Cutter or Razor Blade: This is for trimming excess tape.
- Screwdriver: You’ll need this to remove the trucks (if necessary).
- File or Sandpaper: This helps smooth out rough edges.
- Optional: Grip gum (for extra adhesion), hair dryer (to help mold the tape).
Step-by-Step Guide to Applying Grip Tape
- Prep Your Deck: If you’re replacing old grip tape, carefully remove it with a razor blade. Clean the deck thoroughly to remove any residue. If you’re applying tape to a new deck, light sanding can help with adhesion.
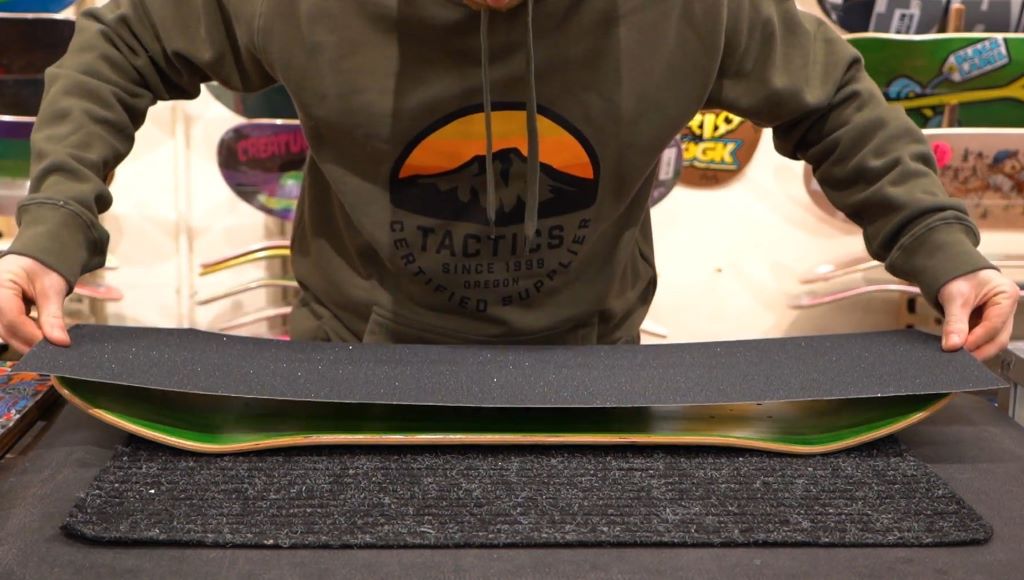
- Position the Tape: Line up the grip tape with the deck, ensuring even overhang on all sides.
- Apply Pressure: Starting from the center, press the grip tape firmly onto the deck. Work your way outwards, smoothing out any air bubbles as you go.
- Trim Excess Tape: Use a razor blade or box cutter to carefully trim the excess tape along the edges of the deck.
- File the Edges: Run a file or sandpaper along the edges to create a smooth, rounded finish.
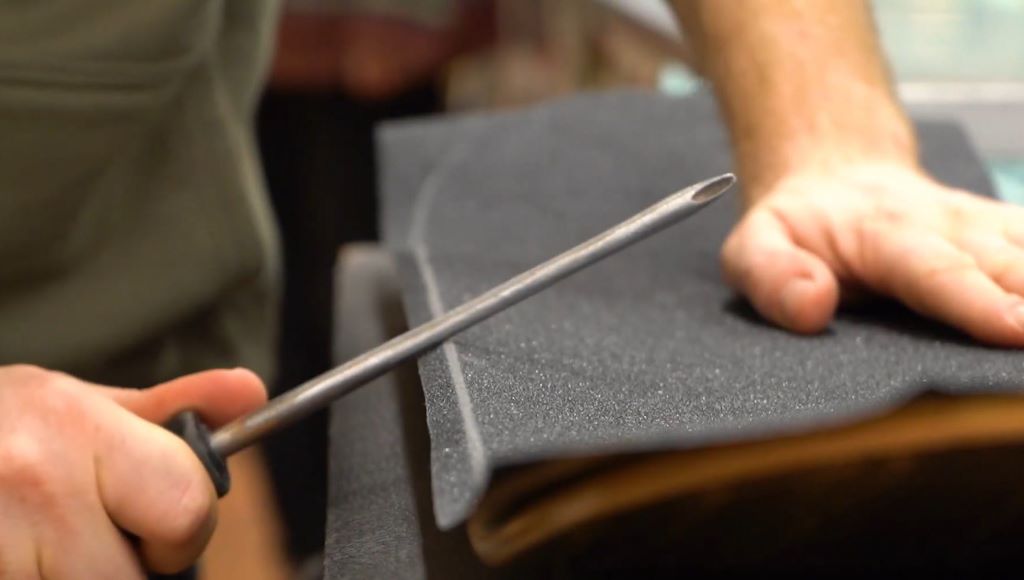
- Poke Holes (Optional): For decks with pre-drilled holes for hardware, poke holes in the grip tape to match.
- Reinstall Trucks: If you removed the trucks, carefully reattach them.
- Optional: Grip Gum: For extra adhesion, apply grip gum to the edges of the grip tape.
- Optional: Heat Molding: A hairdryer can help mold the grip tape to the contours of your deck.
- Let It Set: Allow the grip tape to cure for 24 hours before skating.
Tips for Optimal Adhesion
- Cleanliness is Key: A clean deck and clean hands ensure the best possible bond.
- Temperature Matters: Apply grip tape in a warm environment (around 70°F or 21°C) for better adhesion.
- Take Your Time: Rushing can lead to air bubbles or uneven application.
- Don’t Be Afraid of Grip Gum: It’s an inexpensive way to add an extra layer of security.
Related: How to Fix Worn-Out Skateboard Bearings: A Comprehensive Guide
Signs of a Problem
- Peeling Edges: This could be due to poor application, insufficient pressure, or environmental factors.
- Air Bubbles: These can weaken the bond and cause the grip tape to wear out faster.
- Smooth Spots: If your grip tape starts feeling smooth, it’s time for a replacement.
Related: Grinding Like a Legend: Mastering Deck Rails for Smooth Grinds
Additional Tips for Experienced Skaters
- Concave Tricks: If you love concave tricks, consider applying grip tape only to the edges and nose of your deck.
- Custom Designs: Get creative with different colored grip tapes or create your own designs with a razor blade.
Remember, a properly adhered grip tape is your first line of defense against accidents. Take the time to do it right, and you’ll skate with more confidence and less risk of injury.


