To install skateboard locks, first choose a compatible wall, rack, or fixed anchor point. Then position the lock, secure its mounting hardware, and test the locking mechanism before leaving your board unattended. The right skateboard locks can turn simple storage into a more dependable security setup. Most basic installations take about 10 to 20 minutes when the mounting surface and hardware match. A two-point mounting setup also helps distribute pulling force more evenly across the installation.
Key Takeaways
- Choose the lock according to your skateboard, mounting location, and security needs.
- Inspect the wall or fixed anchor before drilling any holes.
- Use studs, masonry anchors, or manufacturer-approved hardware whenever possible.
- Keep the locking cable or shackle tight without placing unnecessary pressure on the deck.
- Test the entire installation before storing your skateboard unattended.
- Inspect screws, anchors, cables, and locking points regularly for movement or wear.
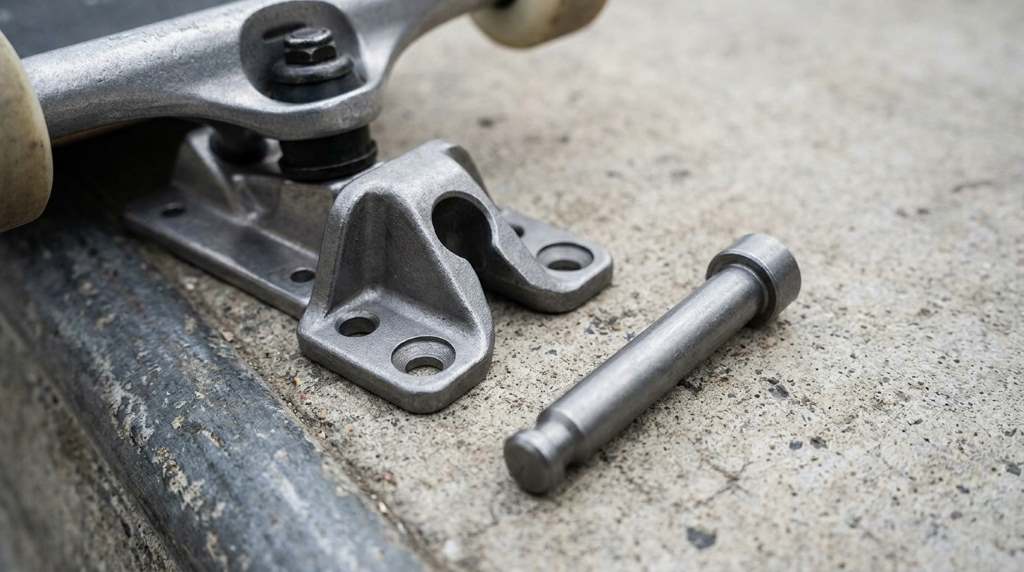
Choose the Right Skateboard Lock Installation
Not every skateboard lock installs in the same way. Some locks attach directly to a wall-mounted bracket, while others secure a board to a rack or fixed object.
Therefore, identify your lock type before reaching for a drill. Your installation method should match the lock design rather than forcing one universal method onto every setup.
| Lock Type | Best Use | Typical Installation |
|---|---|---|
| Cable lock | Outdoor racks and fixed objects | Loop cable through board and anchor |
| Wall-mounted lock | Home or garage storage | Fasten bracket into suitable structure |
| Lockable rack | Shared or multiple-board storage | Secure rack to wall or floor |
| Bracket lock | Single-board security | Mount bracket, then engage locking point |
Check the Mounting Location First
A strong lock cannot compensate for a weak mounting surface. Before installation, examine the wall, rack, post, or other fixed structure supporting your lock.
For drywall, locate a wall stud whenever your mounting design permits it. Otherwise, choose anchors specifically rated for the wall material and expected load.
Drywall Installation
Drywall requires careful anchor selection because ordinary screws can pull out under repeated force. Mark the mounting points first, then confirm that no electrical wiring or plumbing sits behind them.
Whenever possible, position at least one major mounting point over a stud. For lightweight hardware, suitable drywall anchors can provide additional support when installed correctly.
Wood Installation
Wood provides a straightforward mounting surface for many skateboard lock brackets. However, avoid thin trim, hollow doors, or decorative panels that cannot resist pulling force.
Instead, choose solid framing or substantial lumber for the mounting point. Pre-drilling can also reduce splitting when using larger screws.
Concrete or Masonry Installation
Concrete and masonry require compatible anchors and the correct drill bit. Mark the holes carefully because misplaced masonry holes can weaken the surrounding material.
Then drill to the required depth and remove loose dust before inserting the anchors. Tighten the hardware firmly without crushing the bracket or damaging the anchor.
Prepare Your Tools and Hardware
Gather everything before beginning the installation. This simple step prevents repeated interruptions and reduces the chance of using unsuitable hardware.
- Measuring tape
- Pencil or marker
- Level
- Drill and appropriate drill bits
- Screwdriver or driver bit
- Suitable screws
- Wall anchors when required
- Skateboard lock and mounting bracket
- Safety glasses
Next, compare the supplied hardware with the installation instructions. Do not replace specialized anchors or fasteners with random screws simply because they fit the holes.
Step-by-Step Skateboard Lock Installation
1. Measure the Installation Area
Hold the lock or bracket against the intended surface. Check the height, board clearance, and surrounding space before marking anything.
Use a level to prevent the bracket from sitting crooked. Also consider how easily you can insert and remove the skateboard after installation.
2. Mark the Mounting Holes
Use the bracket itself as your positioning guide when possible. Mark each mounting hole clearly with a pencil or fine marker.
Then remove the bracket and inspect your marks. Confirm that the holes will avoid edges, weak material, pipes, and electrical lines.
3. Drill the Correct Pilot Holes
Select a drill bit that matches your mounting surface and anchor specifications. A bit that looks close enough can still create an unreliable connection.
Drill straight into the surface and maintain the required depth. Remove dust from the holes before installing anchors or screws.
4. Install the Anchors
If your surface requires anchors, insert them carefully until they sit correctly. Do not hammer an incompatible anchor into an undersized or oversized hole.
For stud mounting, follow the lock manufacturer’s screw requirements instead. A direct structural connection often provides a stronger foundation than a hollow-wall anchor.
5. Fasten the Lock Bracket
Place the bracket over the prepared holes and install the mounting screws. Tighten each screw gradually instead of fully tightening one screw immediately.
As the bracket settles, check its alignment again. Stop tightening once the bracket sits firmly without bending, cracking, or deforming.
6. Attach the Locking Component
Install the cable, shackle, locking ring, or other security component according to its design. Make sure the locking mechanism moves freely before securing the skateboard.
If the lock uses a cable, keep enough length for practical board attachment. However, avoid excessive slack that allows unnecessary movement.
7. Secure the Skateboard
Position the skateboard so the lock passes through an appropriate structural part of the board or its mounting system. Avoid relying on fragile accessories or removable components.
For rack installations, connect the board to the rack rather than simply threading the lock around the deck. The fixed structure must remain part of the security chain.
8. Perform a Security Test
Pull the mounted bracket firmly in several directions before trusting the installation. The hardware should remain stable without noticeable movement or separation.
Next, lock the skateboard and apply moderate tension to the cable or locking component. Check that the lock stays closed and the board remains properly positioned.
How To Install a Cable Skateboard Lock
Cable locks offer flexibility because they can wrap around a board and a fixed anchor. They work particularly well when the location already provides a secure rack or post.
First, pass the cable through an appropriate opening or around a sturdy structural section. Then route it around the fixed anchor before inserting the locking end.
Keep the cable away from sharp edges that could accelerate wear. Finally, close the lock and check that the cable cannot easily slip free from either attachment point.
How To Install a Wall-Mounted Skateboard Lock
Wall-mounted systems require more attention to the mounting surface than portable cable locks. The bracket carries both the board and the force applied during attempted removal.
Start by locating a suitable structural point and marking the bracket position. Install the appropriate hardware, then verify that the bracket remains level and firmly attached.
Afterward, place the skateboard into the holder and engage the lock. Give the board a controlled tug to confirm that the security mechanism works as intended.
How To Install a Lockable Skateboard Rack
Lockable racks make sense when several boards need organized storage. They can also provide a cleaner security solution than separate portable locks.
First, determine whether the rack requires wall, floor, or another structural mounting method. Then select hardware that matches the actual installation surface.
Once mounted, place the skateboard into the designated support area. Align the locking rings or security points before attaching the padlock or compatible locking device.
Common Installation Mistakes to Avoid
- Using weak anchors: Cheap or unsuitable anchors can fail even when the lock itself remains functional.
- Mounting into thin material: Decorative surfaces may not provide enough structural support.
- Overtightening screws: Excessive force can damage brackets, anchors, or mounting surfaces.
- Leaving excessive cable slack: Extra slack can make the setup easier to manipulate.
- Locking only removable parts: Secure a structural section rather than a component that separates easily.
- Skipping the final test: A lock should never receive its first serious test after you leave.
Improve Security Without Overcomplicating Installation
Good skateboard security depends on the entire system rather than the lock alone. A premium lock attached to a weak anchor still creates a vulnerable setup.
Therefore, prioritize the strongest available fixed point and use compatible hardware. Keep the board positioned where casual handling cannot easily defeat the locking mechanism.
For outdoor storage, inspect exposed metal and cable surfaces periodically. Weather, dirt, and repeated movement can gradually affect mechanical performance.
Maintenance Checklist for Skateboard Locks
Installation does not end when the screws become tight. Regular inspection helps identify loosened hardware before it becomes a serious security problem.
- Check mounting screws for movement.
- Inspect anchors for cracking or pulling.
- Examine cables for fraying or kinks.
- Test the lock mechanism for smooth operation.
- Look for corrosion on exposed metal parts.
- Confirm that the mounting surface remains structurally sound.
If any component shows significant wear, replace it before relying on the lock again. Small maintenance issues become bigger weaknesses when ignored.
When Should You Use Professional Installation?
DIY installation works well for straightforward brackets and suitable mounting surfaces. However, professional help makes sense when you need masonry drilling, heavy-duty anchoring, or permanent public installation.
Professional installation can also help when the mounting surface has uncertain structural strength. The goal remains simple: create a secure connection that matches the environment.
Final Installation Checklist
| Check | What to Confirm |
|---|---|
| Location | Strong, accessible, and free from obstructions |
| Hardware | Correct for the mounting surface |
| Bracket | Level and firmly attached |
| Lock | Closes and releases correctly |
| Board | Held through a secure structural point |
| Final test | No excessive movement or easy release |
Frequently Asked Questions
Can I install a skateboard lock on drywall?
Yes, but use suitable drywall anchors or fasten the lock directly into a wall stud whenever the design allows.
Can I use a cable lock on any skateboard?
Usually, but the cable must pass through a suitable structural opening without damaging the deck.
Should a skateboard lock be tight against the board?
Keep the lock reasonably snug while leaving enough clearance to prevent unnecessary pressure on the deck.
Are wall-mounted skateboard locks secure?
Yes, when the bracket uses appropriate hardware and attaches to a structurally sound mounting surface.
How often should I inspect a skateboard lock?
Inspect it regularly and immediately after heavy use, relocation, weather exposure, or noticeable hardware movement.
Conclusion
Installing a skateboard lock correctly starts with the mounting surface, not the lock itself. Choose compatible hardware, create a solid attachment point, position the security mechanism carefully, and test everything before relying on it.
Take a few extra minutes to inspect the finished setup from every angle. If the bracket, anchor, cable, and locking point all remain secure under controlled pressure, your skateboard has a much stronger layer of protection.
Ready to secure your board? Choose the right lock for your setup, install it using the correct hardware, and complete the final security test before storing your skateboard.