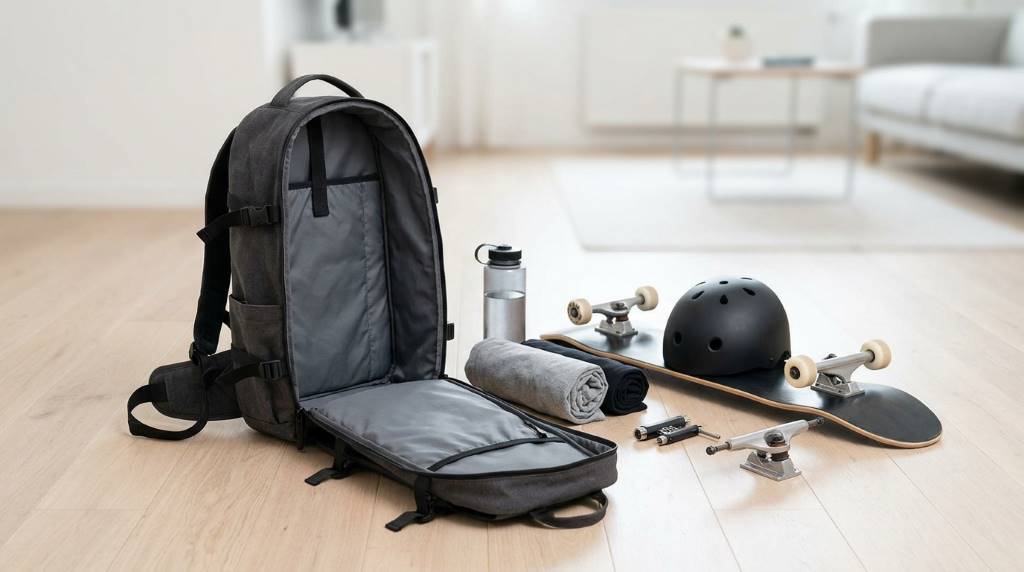
Pack skateboard backpacks by securing the board first, then placing heavy gear low and close to your back. Start with essentials, protect fragile items, and leave enough room for quick access. With nearly 9.9 million U.S. skateboarders in 2025, organized carrying matters for daily riders.
Many riders use skateboard backpacks because they keep both hands free while moving around town. A properly packed bag also prevents shifting weight from affecting balance during transport. The goal is simple: carry everything you need without turning your backpack into unnecessary dead weight.
Key Takeaways
- Attach the skateboard securely before packing interior compartments.
- Keep dense equipment close to your back for better weight control.
- Separate electronics, clothing, tools, and wet items.
- Use protective cases for laptops, cameras, and delicate accessories.
- Pack only session-specific gear instead of filling every pocket.
- Check straps, zippers, and weight distribution before leaving.
Start With the Backpack and Board
Before packing anything, inspect your backpack and identify every compartment. Check the skateboard straps, buckles, stitching, zippers, and attachment points for damage. A secure attachment system matters more than having numerous pockets.
Next, position the backpack upright on a clean surface. Place the skateboard against its designated straps and center the deck carefully. Tighten each strap until the board stays firmly against the bag without crushing the fabric.
Match the Bag to Your Board
Check your board’s length and width against the backpack’s stated capacity. Some packs accommodate standard decks, while others support longer cruisers or electric boards. Never assume a board will fit simply because the backpack looks large.
Also consider trucks, wheels, and deck shape when testing the fit. A poorly positioned board can protrude awkwardly and catch against doors or pedestrians. Therefore, confirm the complete loaded profile before using the backpack outside.
Build Your Packing System Around Weight
The best packing method follows weight distribution rather than pocket availability. Put heavier items close to your back, medium items toward the center, and lightweight items outward. This arrangement reduces unnecessary movement and makes the backpack feel more stable.
For example, place a laptop, tablet, or dense tool pouch against the padded rear panel. Put clothing and protective equipment around those heavier items for additional cushioning. Keep small accessories inside dedicated pockets instead of letting them collect at the bottom.
| Gear Type | Best Position | Reason |
|---|---|---|
| Laptop or tablet | Padded rear sleeve | Protects the device and stabilizes weight |
| Skate tool | Small front pocket | Provides quick access |
| Clothing | Center compartment | Fills space without adding rigid pressure |
| Water bottle | Side pocket | Prevents spills inside the main compartment |
| Helmet | Outer helmet area | Preserves interior space |
| Small accessories | Organizer pockets | Prevents loose items from mixing |
Pack Your Skate Session Essentials
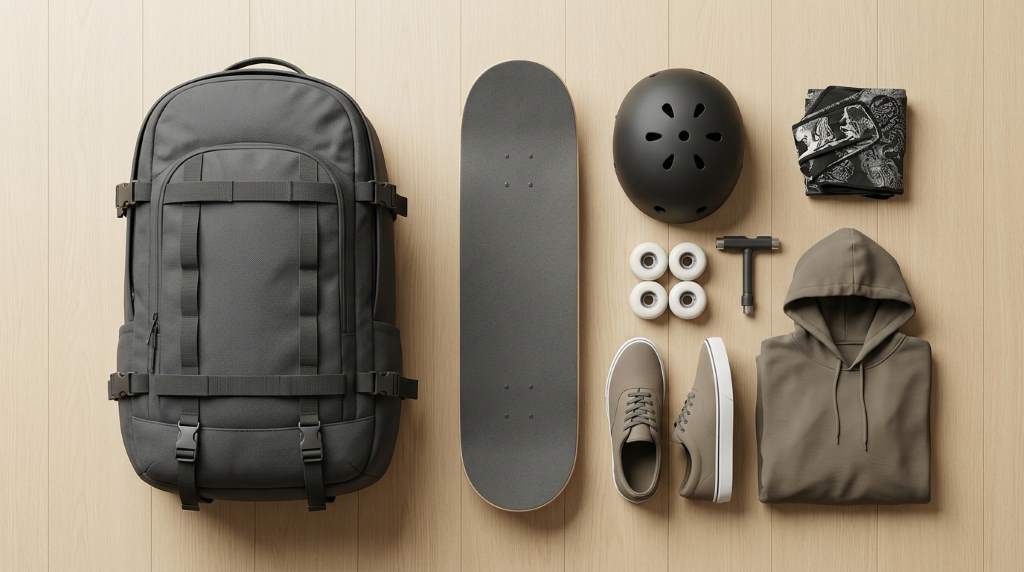
A focused skate session rarely requires everything you own. Start by identifying what could realistically solve a problem during today’s session. Then remove anything that serves no practical purpose.
- Skate tool
- Spare bearings
- Wax
- Allen keys or compatible hardware
- Small cleaning cloth
- Water bottle
- Phone and wallet
- Protective equipment
- Lightweight hoodie or shirt
- Basic first-aid supplies
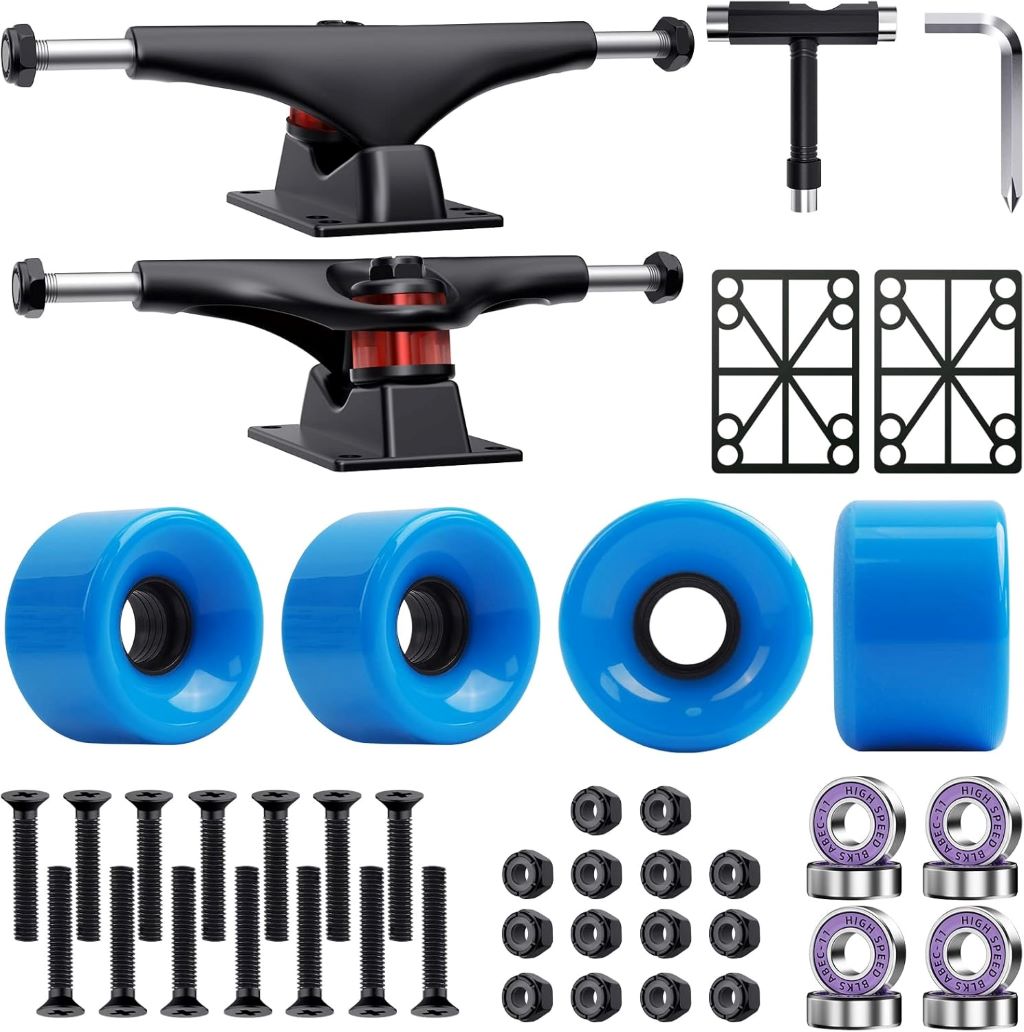
A skate tool deserves an easily reachable pocket because adjustments can become necessary unexpectedly. Spare bearings also make sense during longer sessions or trips away from home. However, avoid carrying excessive hardware unless you have a specific repair need.
Pack Tools Without Creating Damage
Hard metal tools can damage electronics, sunglasses, and other delicate belongings. Keep tools inside a compact pouch or dedicated compartment whenever possible. This simple separation prevents scratches and reduces annoying rattling.
Similarly, keep skate wax sealed away from clothing and electronics. Wax can soften inside warm environments and transfer onto surrounding materials. A small zippered pouch provides an inexpensive barrier against unwanted residue.
Protect Electronics Before Adding Them
Many skaters use backpacks for school, work, commuting, and skating together. That combination creates a different packing challenge because electronics need protection from boards and tools. Always use the backpack’s padded sleeve when carrying a laptop or tablet.
Place chargers inside a separate organizer instead of wrapping cables around other belongings. Keep power banks and cables away from sharp hardware whenever possible. If your backpack lacks padding, add a dedicated protective sleeve before carrying expensive devices.
Keep Cameras and Accessories Secure
Camera equipment needs extra protection because skateboarding creates constant movement and occasional impacts. Wrap smaller devices in soft cases before placing them inside the backpack. Keep lenses, batteries, and memory cards separated from metal tools.
Furthermore, avoid overpacking around fragile equipment. Excess pressure can damage screens, camera bodies, and lens components. Leave a small protective buffer around anything expensive or easily scratched.
Use Clothing as Protective Packing Material
Clothing can fill empty spaces while protecting other equipment. Fold a hoodie around rigid items instead of leaving loose gaps inside the main compartment. Socks can cushion small accessories without consuming meaningful space.
This method works particularly well when you carry skate shoes, casual clothes, or rain layers. However, keep damp clothing separate from electronics and clean garments. A lightweight waterproof pouch solves that problem without adding much weight.
Pack Protective Gear Without Losing Space
Protective gear often creates awkward shapes that waste valuable backpack capacity. Instead of forcing everything into the main compartment, use external attachment points when the backpack supports them. Keep straps secure so helmets or pads cannot swing while walking.
For helmets, protect the shell from heavy pressure and sharp objects. Place softer clothing around vulnerable areas when the helmet travels inside the bag. Avoid stuffing items inside the helmet if they distort its structure or padding.
What About Knee and Elbow Pads?
Flexible pads usually fit around clothing or inside larger compartments. Stack them flat when possible, then place softer items above them. Hard protective shells should never press directly against fragile electronics.
If your protective equipment occupies most of the backpack, reconsider the bag’s capacity. A larger skating pack may provide better organization and safer weight distribution. Overstuffing a small bag usually creates more problems than carrying a larger one.
Keep Water and Food Separate
Water bottles deserve special attention because one loose cap can ruin an entire backpack. Use a secure side pocket whenever your backpack provides one. Check the bottle seal before placing it beside electronics or clothing.
For snacks, choose compact packaging that will not leak or crumble easily. Keep food inside a separate pouch if you carry it regularly. This approach prevents crumbs, odors, and spills from spreading through the backpack.
Prepare for Weather Changes
Weather can change quickly during a long skating day, especially when commuting between different locations. Pack a lightweight rain shell or compact weather layer when conditions look uncertain. A small waterproof pouch can also protect phones, documents, and other essentials.
Water-resistant fabric helps, but do not automatically treat it as fully waterproof. Seams and zippers can still allow moisture inside during prolonged rain. Therefore, protect sensitive belongings independently when weather becomes severe.
Pack for Commuting, School, and Work
A commuting load needs more organization than a short skate session. Start with your laptop or work essentials, then add skate equipment around that core load. Keep frequently used items near the top or in exterior pockets.
For school, reserve a dedicated section for notebooks and technology. Then use smaller pockets for keys, cards, headphones, and chargers. This arrangement prevents skate hardware from mixing with everyday items.
For work, prioritize clean clothing and personal items over unnecessary skate accessories. Pack shoes separately if your backpack includes a shoe compartment. Otherwise, use a washable shoe bag to keep dirt away from professional clothing.
Use a Simple Access Hierarchy
Good packing means more than fitting everything inside the backpack. It also means knowing where each item belongs before you need it. Create three access levels based on how frequently you use each item.
- Immediate: Phone, wallet, keys, and skate tool.
- Regular: Water, snacks, clothing, and chargers.
- Occasional: Spare hardware, rain gear, and backup accessories.
Place immediate items in exterior or upper pockets. Put regular items inside the main compartment with clear separation. Store occasional items deeper inside because you rarely need them during a session.
Avoid These Common Packing Mistakes
Overloading Every Compartment
More capacity does not mean you should use every available inch. Excess weight makes the backpack uncomfortable and increases movement during transport. Pack according to your actual itinerary instead of packing for every possible scenario.
Letting the Board Hang Loose
A loose skateboard can shift constantly and pull the backpack backward. That movement makes walking uncomfortable and can destabilize the load. Tighten the attachment straps and check the board again after walking several minutes.
Mixing Sharp and Fragile Items
Tools, hardware, and fragile equipment should never share an unprotected compartment. Even small movements can create scratches or impact damage. Separate these categories using pouches, sleeves, or dedicated pockets.
Ignoring Wet Gear
Wet clothing can quickly make the entire backpack damp. Keep rain gear and used clothing inside separate waterproof bags. This practice protects electronics and keeps clean items usable throughout the day.
Perform a Two-Minute Pre-Trip Check
Before leaving, lift the packed backpack and check whether anything shifts noticeably. If the load moves, rearrange heavy items closer to your back. Then tighten the shoulder straps and board attachment points.
- Board straps feel tight and secure.
- Heavy items sit close to your back.
- Electronics have adequate padding.
- Water bottles stand securely.
- Wet items remain isolated.
- Zippers close without excessive tension.
- No loose tools can contact fragile equipment.
Finally, walk around for several minutes before starting your skate trip. Notice pressure points, swinging equipment, and uncomfortable weight distribution. Adjust those problems immediately rather than tolerating them throughout the day.
How Packing Changes for Different Skate Trips
| Trip Type | Priority Gear | Packing Approach |
|---|---|---|
| Short session | Tool, water, phone, wallet | Keep the load minimal |
| Long session | Tools, spare parts, food, clothing | Use organized compartments |
| School commute | Laptop, books, skate gear | Protect electronics first |
| Work commute | Device, clothes, accessories | Separate clean items |
| Day trip | Weather layer, food, tools, extras | Use every compartment strategically |
When You Should Repack Your Skateboard Backpack
Do not leave yesterday’s gear inside the backpack indefinitely. Remove used clothing, empty food wrappers, and unnecessary tools after each trip. A quick reset keeps your next session lighter and more organized.
Inspect the board straps whenever you repack the bag. Look for fraying, stretched webbing, damaged buckles, or loose stitching. Replacing a worn strap early costs less trouble than recovering a dropped skateboard.
Frequently Asked Questions
What should I put in a skateboard backpack?
Carry your skate tool, water, phone, wallet, protective gear, spare parts, and weather-appropriate clothing.
Where should I put my skateboard?
Secure the skateboard to the backpack’s dedicated external straps and tighten them evenly around the deck.
How do I pack a skateboard backpack without making it heavy?
Prioritize essential gear and remove duplicate items, unnecessary tools, and clothing you probably will not use.
Can I carry a laptop in a skateboard backpack?
Yes, provided the backpack has adequate padding and keeps the laptop separated from hard skate equipment.
How do I stop skateboard backpacks from shifting?
Keep heavy items close to your back, tighten the shoulder straps, and secure the skateboard firmly against the pack.
Final Thoughts
Learning how to pack skateboard backpacks properly comes down to security, weight control, protection, and access. Start with the skateboard, stabilize heavy gear, separate fragile belongings, and remove anything unnecessary.
Before your next session, use the packing checklist above and adjust it around your actual routine. A few deliberate packing choices can make your backpack more comfortable, your gear safer, and your day much easier.
Pack your skateboard backpack today, perform the two-minute safety check, and head out with only what you genuinely need.